Contents
 Contents
How to dry mushrooms: a complete dehydrator guide
Reliable drying removes moisture from the centre while preserving the identity of every batch. Expert identification and inspection must always happen before slicing.
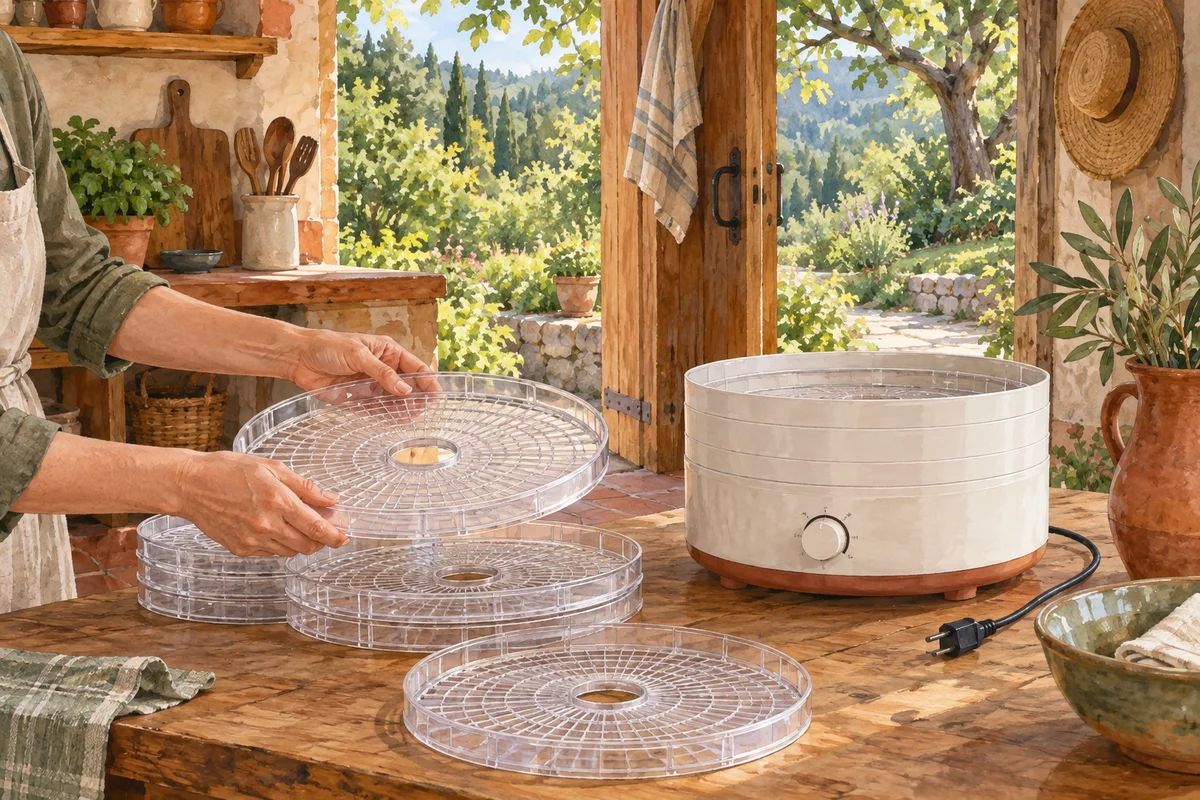
Obtain expert control before switching on the dehydrator
Take fresh, complete wild mushrooms to a VAPKO inspection centre before intensive cleaning, cutting or drying. Ask whether the confirmed species is suitable for this preservation method and which preparation will still be required before eating. Exclude every unknown, mixed, incomplete, over-mature, degraded or untraceable specimen. An app, photograph or remembered name cannot establish edibility. Drying changes colour, volume, smell and texture, so reliable inspection becomes much harder after processing.
Drying and cooking do not destroy the toxins of every poisonous mushroom. They can never turn an unknown or toxic species into food. Keep each confirmed species and collection date in a separate batch from the start. If a loose fragment reaches the wrong tray and cannot be assigned with certainty, remove it. Losing one piece is safer than losing the traceability of an entire container.
- Complete specimens inspected by VAPKO.
- Confirmed species judged suitable for drying.
- Degraded material and unknown fragments excluded.
- One labelled tray for each inspected batch.
 Complete specimens inspected by VAPKO.
Prepare clean equipment and a controlled workspace
Prefer a food dehydrator that can maintain a steady temperature and move air between its trays. Clean and dry the appliance, racks, knife, board and hands before processing. Prepare a label with the confirmed species, collection date, drying date and a batch identifier before cutting begins. Do not process study specimens, decorative mushrooms or unchecked finds in the same workspace at the same time.
Sun drying and passive room drying do not provide dependable control of temperature, humidity, dust and insects. Use an oven only when its manufacturer permits stable low-temperature operation with adequate moisture removal. Never wedge a door or improvise ventilation against the appliance instructions. If the oven cannot hold the required low setting or heats unevenly, use a suitable food dehydrator instead.
- Clean checked dehydrator.
- Completely dry food-safe trays.
- Clean knife and board.
- Batch label ready before slicing.
Clean, sort and cut the batch evenly
Work with one inspected batch at a time. Remove soil and debris using a method appropriate to the species, avoiding prolonged soaking that adds unnecessary water. Exclude degraded areas and specimens whose overall condition is unsatisfactory instead of attempting to rescue them with heat. Separate very thick structures from thin ones when they will need different drying times.
Cut even slices so moving air reaches comparable thicknesses. Very small mushrooms may sometimes be dried whole when the validated method for that confirmed species allows it, but their centres take longer to assess. Arrange every piece in one layer without overlap, leaving room for airflow. Do not overload the racks. Uniform preparation reduces the risk of packing pieces that feel dry outside while retaining moisture inside.
Remove debris from the inspected batch.
Discard degraded specimens.
Cut pieces to an even thickness.
Separate unusually thick parts where needed.
Arrange one non-overlapping layer.

Use 140 °F as a documented reference, not a guarantee
Utah State University Extension's public Home Drying of Foods guide describes a reference procedure in which mushrooms are cleaned, large specimens are sliced, the pieces are steam-blanched for two to three minutes and the dehydrator is set to 140 °F, or 60 °C. It gives approximately three and a half hours before assessment. These figures define one documented protocol, not a universal duration for every wild species, slice thickness or appliance. Give priority to instructions for the inspected species and to the dehydrator manufacturer's directions.
Begin promptly after preparation and keep the drying cycle continuous. Record the start time, selected temperature and any tray rotation. Do not raise the heat simply to finish sooner, because a hardened surface can slow the escape of moisture from the centre. Very low or intermittent heat also prolongs the period in which food remains moist. The physical result after cooling, never the timer alone, determines whether the cycle is complete.
Check instructions for the confirmed species and appliance.
Preheat when the manufacturer requires it.
Load trays without blocking airflow.
Run the validated protocol, using 140 °F as the published reference.
Record the start time.
Assess at the expected point and continue for as long as necessary.
Monitor airflow, tray position and thick pieces
Actual drying time changes with species, thickness, tray load, starting moisture and appliance performance. Inspect without repeatedly interrupting the cycle. Rotate trays when the manual recommends it to compensate for uneven airflow. Remove only pieces that have genuinely reached the endpoint and allow thicker pieces to continue. Keep items removed at different times apart until the final cooled assessment.
Stop if an abnormal smell, contamination, prolonged power failure or batch identity problem appears. Darkening can result from processing, but colour alone cannot prove quality or safety. Never taste a piece to test dryness. Useful observations are a dry centre, the texture after cooling, the absence of soft areas and the stability of the batch inside a clean container.
Confirm complete dryness through the centre
Remove several representative pieces, including the thickest, and let them cool before testing. A warm piece can feel softer or drier than it will at room temperature. Open or break a thick piece and inspect its centre. Food intended for storage must be dry throughout, with no cool, moist or spongy core. The reference method calls for a brittle endpoint. If a piece bends around a soft centre or reveals moisture, return the corresponding batch to the dehydrator.
Cool the finished batch in a clean, dry area without leaving it exposed to humid air. Place a small amount in a clean transparent container and check promptly for fogging or droplets. Condensation indicates residual water or renewed moisture uptake: remove the food and continue drying. If mould, an abnormal smell or deterioration is present, discard the affected batch. Heating again cannot make mouldy food dependable.
- Samples cooled before testing.
- Thickest piece opened at the centre.
- Dry and brittle texture.
- No soft or damp area.
- No condensation in the test container.
Package and store without letting moisture return
Transfer only fully cooled, dry mushrooms into clean, completely dry, moisture-tight food containers. Use practical container sizes so the entire supply is not exposed whenever one portion is needed. Label the confirmed species, collection date, drying date and batch number. Store in a cool, dark, dry place, out of children's reach and separate from any specimens kept for study.
Inspect containers after closing and at regular intervals. Fogged walls, softened pieces, an unusual smell, insects or mould require immediate action. When simple condensation appears very early without any spoilage sign, dry the food again and replace the container with a dry one. Discard the entire affected contents if mould or uncertain history is involved. Never top up an old jar with a new batch or recreate a missing label from memory.
- Food fully cool before sealing.
- Clean, dry, moisture-tight container.
- Species, dates and batch recorded.
- Cool, dark and dry storage.
- Regular visual checks.
Rehydrate a traceable portion and cook it correctly
Open only a batch whose label, smell and appearance remain normal. Remove the required amount with a dry utensil and close the container immediately. Rehydrate according to a reliable method appropriate to the confirmed species and recipe, using potable water or adding it directly to a sufficiently liquid preparation. Rehydrated mushrooms are moist and perishable again, so cook them promptly and do not leave them standing at room temperature.
Use soaking liquid only when a reliable recipe calls for it, and filter it to remove debris. Follow any species-specific cooking requirement provided by the authority or inspector. Drying does not replace that cooking, and wild mushrooms must not be eaten raw. If symptoms appear after the meal in Switzerland, call 145 immediately, or 144 for a life-threatening emergency. Do not induce vomiting. Keep the container, label and remaining food for professional assessment.
Check the container and its label.
Use a dry utensil.
Rehydrate only the amount required.
Cook as required for the confirmed species.
Keep the label until after the meal.
Sources and review

Related guides
Preservation method
Dry mushrooms
Drying preserves a verified ingredient; it does not identify an unknown mushroom or make a toxic species safe.
Safe storage
Store mushrooms
Storage slows change but cannot repair poor identification, contamination or deterioration. Only a checked, traceable collection should enter a food-storage routine.
Only use a known batch
Rehydrating
Rehydration adds water to a product that was already identified and dried correctly. It does not reveal a species or repair doubtful storage.